24 May, 2012

Sabriel Final Film

This is the final version of the animation. For some reason when using the software to render it, it added the pixelation in the artwork. Sadly it had been rendered on HD and therefore, cannot be amended.


I have looked at the feedback people have given me and taken it into consideration with my final animation.

I hope you Enjoy~

Communicating Through Story Characters

I found this preivew of the book online and thought it could perhaps be of interest as it describes how you could create and communicate a pre existing character successfully. The information was taken from Google Ebooks


Communicating Through Story Characters: Radio Social Drama

 By Pamela Brooke

Looking at Lighting


Light stuff

There's really just one kind of light. It bounces. You can only see the light (photon) if it enters your eye. Light does two important things when it hits a surface. First, a part of it is absorbed. This is how colors are made. A red apple reflects mostly red wavelengths, the rest are absorbed and turned into heat or something. That's why black stuff get so hot in the sun. Anyways, the reflected light bounce away differently depending on the surface. If the surface is bumpy it will bounce away sort of randomly, like a tennis ball that hits rocky terrain. If the surface is smooth it will bounce away in a predictable path. A mirror is very smooth so the light comes back undistorted, so we can see our reflection.
Note that all surfaces have speculars, because speculars is just reflected light. It's just more broken up/diluted on dull surfaces.
Depending on where the eye/beholder is, it'll see different light and different specular spots on a curved surface such as this. A puddle isn't curved (other than the edges because of surface tension) so you'll only get a shiny reflection from a certain point of view. Point speculars can only appear in an environment where there's a point light source, like a sun, lightbulb or small window. 
Photo - Speculars do exist on cloth, diluted and subtle. I stretched out my shirt sleeve with two fingers to get a flat surface between the two marked dots (I moved the camera and not the sleeve).
Here on earth we have lots of stuff around us that the light can bounce off, so things here are more or less lit from all angles. For example we have the sky which is like a dome shaped blue light source. Then theres the ground, walls and other surfaces. In space there's basically just one light source, the sun. This is why the moon just has a lit and shadowed side, and looks kind of flat. If you looks carefully however, you can see earthlight on the shadow side of the moon, but it's very weak. Then there's starlight, which I guess is even weaker.
When light hits a surface and bounces, it also change color. If it hits another surface of the same color it bounced off, it will make that surface look even more saturated.
(Too orange to be some sort of skintone anyways.)

Exposure

The sunlight is much stronger than the skylight, which is in turn much stronger than indoor light. Our eyes adapt automatically after a while, and we can also adapt by squinting or just focusing on an object. Because we do this without thinking about it, it's hard to understand that our eyes are actually kind of limited. This limitation becomes even more obvious with cameras. If you take a picture indoors, the windows will become overexposed (bright). You might try to adjust the exposure levels to the window light, but then the indoor environment will become underexposed. This can be used to your advantage. By for example putting a character or object in the foreground where it's darker, you can make the silhouette read well against a well lit room.
The exposure to light can also make parts of a body look very bright or dark, not skin tone color at all. When the shadow is dark and the lit side is overexposed, the only place for the color to go is on the edge between them.

Materials

Here's an example of various materials and how i render them.
  • Cloth - Hardly any speculars, just shadow and light. Sometimes strong light can penetrate thin cloth and cause some sort of subsurface scattering.
  • Leather - Can be a little gloss and thus have a few speculars. Also, don't make it too saturated.
  • Trees and wood - Dull. Not very saturated either (sort of grey-brown-sienna).
  • Stone - A bit like cloth. The surface is often to rugged (both at micro and macro levels) to have any serious speculars.
  • Plastic - It seems like the speculars and reflections are colorized in the color of the plastic. Plastic can also be a bit transparent.
  • Gold - Gold isn't orange. I use black - desaturated orange sometims with hints of green, then up to yellow and white.
  • Silver - More or less like a mirror.
  • Metal - In the case of armours I often push the values a little more, not as much midtones.
  • Brushed metal - It's sort of like an inbetween of a grey surface and a silver surface.
  • Glass - Often just transparent with distortion. The speculars come suddenly and are often white. In the case of car windows you might have noticed that it's easier ot see what's behind if there's a shadow over the window. The brighter reflections obscure.
  • Wet stuff - more speculars, can become transparent in the case of cloth, and stones get more saturated and pronounced details.

Shadows

Shadows are quite flat and generally less saturated than the lit side. It's easier to notice ambient light in the shadows. Shadows get blury over distance, this is called diffraction.

(Shadows don't add (multiply) with just ONE lightsource that is...)

Skin tones

Consider the environment. The light is stronger outside, and the skin color tend to be less saturated due to the sky blue ambient light and sky blue speculars. Sometimes the skin color become shifted towards purple because of the sky blue being mixed in. This is especially true if the subject is standing in a shadow.
Indoors (no windows, only light bulbs) the light is warmer and allows skin saturation to be amped up to oranges and reds.
The shadow color of the skin can sometimes wander off to greens, especially if the room have green components, like wallpaper, plants, furniture.
In a white room or a bathroom the skin tones would be quite pale, closer to local colors and less contrasted (shadow/light) due to lots of ambience.
A room with a single strong light source will probably result in near black shadows.
...so, the type of environment your character is placed in very much affects how you should render it.


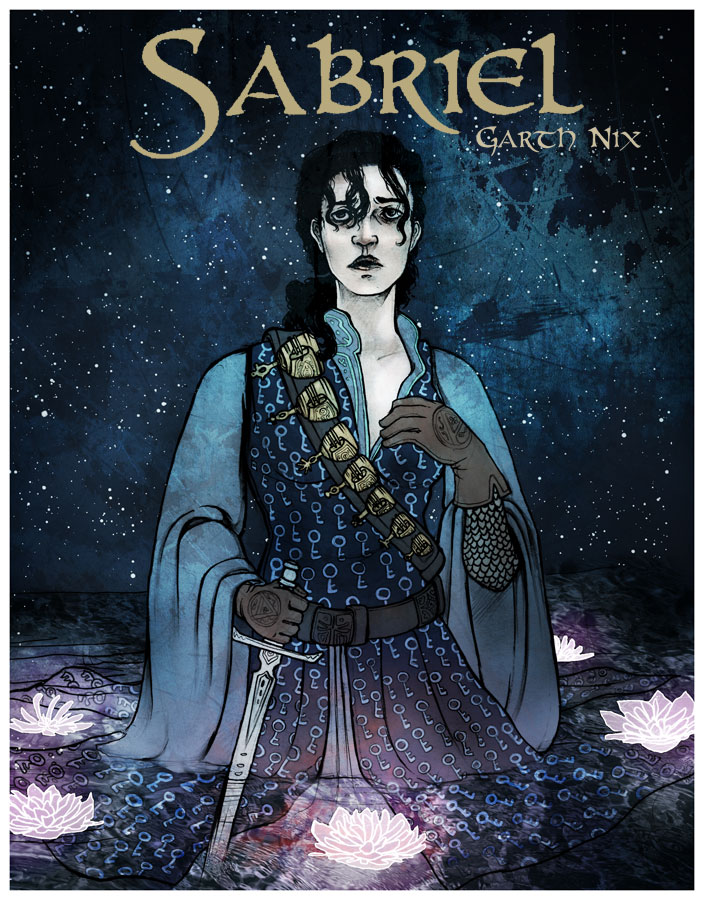
I have looked at all of these things and learnt from them. I have also incorporated into my own design and therefore given some more dimension to my character.

Comparison of Films


Comparing Beauty and the Beast with Edward Scissor hands


Beauty and the Beast

The film although haven been drawn by hand shows imperfections, something that is rarely seen in modern 3D animated films. Sadly in some cases this gigantic achievement has been equalled if not outdone by the next generation of computer animation.
vs


Edward Scissor Hands


Looking at both of these you can see that they influence from a gothic period. Their storyline is conveyed very similarly to one another. Both shot in a castle, with a ‘beast/monster’ a beautiful heroine to the rescue who has been able to look past his monstrosity and finally the villagers who seek the ‘beast/monster’ out. Analyzing both of these films it’s interesting to see how different they approach the treatment of gender and sex.

Useful tips for Digital Painting


The onion (Thinking in layers)

Before laying down a stroke, there's a number of things you need to think about. Well, actually you shouldn't have to think about them, it should just go automatically.
  • Feel volume and angle of the form.
  • Where is the light coming from?
  • Try to figure out if there are any shadows that might be falling on the surface.
  • Is there any reflected light (radiosity) that hits the surface?
  • What is the ambient color of the scene? (sorta like global reflected light.)
  • Any speculars. Is the surface gloss/wet and also angled so it reflects a light source, such as the sky?
  • The exposure level. Perhaps it's so heavily lit that it becomes more than white? Perhaps it's so dark that even the brightest spot is hidden in darkness.
  • Is there any fog in the way?
  • The texture of the surface.
Note that this mainly goes for realistic styles. A brushstroke should also look efficient and consistent with the rest of the painting and your color scheme choice. You might also have an idea or style which disallows certain colors or textures and puts priority on other things. However, even in a powerpuff girls illustration there's simplified elements of realistic rendering. Don't hide behind "it's not apart of my style so I'm not gonna learn it".

Orders of importance

Very generally speaking, certain apects of a painting are more important than other.
  1. Construction - What are you trying to paint? Your subject and composition should work on a fundamental level. If not, then no rendering in the world can save it. Don't have any illusions that you will be able to salvage the piece later. If a pose look wrong now, it will look stiff when finished too, even if Rembrandt himself painted it.
  2. Values - For a painting to work you need to use values to sculpt the forms. Values can do a lot of work grouping and separating shapes. Example 1 - The first version here is obviously wrong. Each shape has just gotten the shadow and highlight treatment. Second one is better but there's just one value type. Third one has different values on different shapes. Maybe it fails at the construction step though; it's not a very interesting pinup. Example 2 Here both value and color is used to separate the foreground and background, although I don't like this painting either, again it fails at construction.
  3. Color - You can be a little off with the colors (hue and saturation) and still get away with it. If you just can't make the colors work, it is probably the values that are wrong. On a side note, if the previous steps do work, it's easy to make fresh looking images with color balance tools. In my experience the original choice is often the best.

This is taken from a tutorial by Arne Niklas Jansson - 2005 & 2007 


I think it is quite useful when looking and telling you how to paint. Although digital painting isn't something new to me, I have often found myself always coming back to the same three tools. Sadly I know realise that i've been doing int wrong and this isn't the way about it if I am to get more realistic results.

How I work

I thought it would be interesting to introduce people to the way I work when creating an animation. Many people have different ways of doing this, however, for me when using Photoshop I quite like the overall design and atmosphere I can create from it.

General Research


This is an old film done in the style. I watched it mainly for the water. The way it has been done in pencil is very good and very reflective of the overall style. This also maintains consistency with what's currently been shown.


A simple animation showing the effect of a pebble going into the water and the ripple effect it has.

In my animation and the story itself it mentions a hand coming out of water. This image is quite interesting because of the way it has been composed/edited. I think they could have done a little more on the reflective surface but the overall result is interesting. The angle and perspective also add interest to it immediately.
From 20:42 - 20:46 is the type of rotation I wanted to include in my animation, sadly I didn't use this in the end because I didn't think it was necessary.

This is the scene from Pocahontas. I used it as reference for my animation. It is in one of my hair tests which can be found in the Sabriel Test on the right hand side of the page. I like the overall flowyness of the hair, however, I dont think it will be suitable for my own animation

Backgrounds


I looked at castles because I thought it would be useful for the animation.  I am going to use a castle for the opening sequence to the animation. UPDATE: Having looked back at my animation and reflected on what i've done so far, I think that the castle is better at the end.


I looked at concepts from Tomb rader. I like the overall feel of these designs. For my underworld scene I want it to feel damp and wet and I believe that these convey it very well.

The inspiration for the snakes probably came from this concept that I showed Keanu Jones. I believe that his background has taken influence in this and he has successfully created something using the same colour scheme and atmosphere.

The perspective and sizes show how small the character is in regards to her surroundings. We can also gather from this that 'spotlight' is useful and quite effected to illustrate the characters presence.

This is the final concept. I was planning on featuring something grand in the middle of the room like a waterall in the cave however, I don't feel this is necessary for the design that I am trying to portray.

Sabriel portraid by others

 
This illustration of Sabriel and her pet Moget is quite cute. I like the simplicity. Although certain things in the drawing aren't well, I like the fact that it's not been drawn in a Japanese Manga style. Her eyes and features seem quite manly which is interesting as it contradicts what I am aiming to do for my animation.

This is a pixel art from Deviantart of Sabriel and her pet Moget. I like the style of it, and the incorporation of the bells. I like the fact it was done in pixel art as this is a very long process. I appreciate that they included Moget into the illustration because it's not really taken into consideration through other fan art out there.  

I like this design of Sabriel, I think the glow of the lotus flowers has a magically feeling and have a deeper meaning which can be related back to symbolism of the flower. Unfortunately I feel this style is Gothic and therefore unsuitable for my Target audience.